

News & Event
Our group developed to three factories, which is specialized in producing PVC PANEL, PVC FILM and WPC.
Decoration strategy| How to install PVC panel?
Editor:Haining Haowang Group Co.,Ltd. │ Release Time:2022-10-12
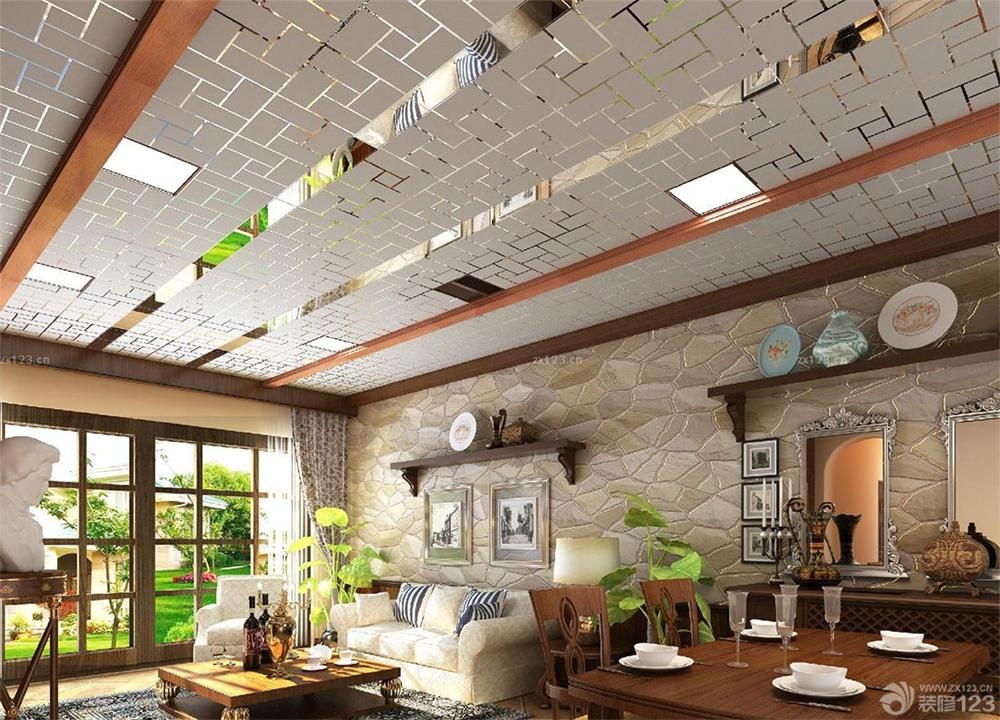
PVC Ceiling Panel, also known as overhead guard, which plays a very important role in home decoration. Not only can play a beautiful role, but also has the characteristics of moisturizing, sound absorption, heat insulation and so on. It is also the shelter of the chandelier and bath heater wires, so almost every space will be installed with a ceiling, and the most popular one is the PVC plastic panel ceiling. So how to install PVC plastic panel ceiling ? What are the installation steps of plastic panel ceiling ? Let 's take a look together.

Installation process
Elevation of elastic line → installation of main keel → installation of boom → installation of side keel → installation of plastic gusset plate → cleaning site.

Installation steps
1. To install a pvc plastic panel ceiling, the first step is to determine the location of the ceiling, that is, the height of the ceiling. Usually the ceiling should not be too low, the height will make the space appear depressing. After determining the installation height, use the ink line to play the elevation on the surrounding wall, and the reference line should be clearly marked .
2. Determine the size and specification of the plastic gusset according to the ceiling design and ceiling area .
3. Determine the keel position line. Because the keel is mainly used to support the shape and fixation of the outer decorative material, in order to ensure the integrity of the installation, the structural size and position line of the keel are determined according to the panel specifications, and the size of the plastic gusset has been determined. The position line is marked above the reference line .
4. Main keel installation. The distance between the main keel hanging points should be selected according to the design recommended series. The middle part should be arched, and the keel arching height should not be less than 1/200 of the room surface span. Correct the position and height in time after the main keel is installed. Pull out the vertical and horizontal elevation control lines, start from one end, and adjust the suspension height of the boom while installing to control the leveling of the dragon skeleton. After the large surface is flat, adjust some single keels with curved edges until the flatness meets the requirements. When installing the main keel, also pay attention to leave the exit of the lighting line .
5.Install the boom. The installation of the boom should meet several requirements: first, the boom should be straight and have sufficient bearing capacity ; secondly, the boom should be rust-proofed in advance; the boom should not exceed 300mm from the end of the main keel, otherwise the boom should be added. , If you need to add a boom, it is best to lap and weld firmly to avoid the main keel from falling .
6.Side keel installation. The side joists should be installed snugly against the main joists. After installing the main and side keels, check the flatness and firmness of the keels .
7.Plastic gusset installation. Fasten the plastic gusset on the keel in parallel by one strip, and connect it with a special connector. It should be noted that when installing the last board, it should be cut with a cutter according to the final actual size, the panel should be slightly bent and installed, and finally sealed with pressure strips on both sides.
Installation Precautions
1. After the wall tiles of the kitchen and bathroom are posted, you can notify the gusset manufacturer to come and measure.
2.The electric water heater and the gas water heater are installed in place. And the power lines for lighting, exhaust, etc. should be reserved.
3.Before installing the ceiling, buy the bath heater exhaust fan (not required for the integrated ceiling), and get it to the site. The opening position of the exhaust hood smoke pipe is determined with the cabinet manufacturer.
4.Ceiling lamps, if they are embedded, should be bought and brought to the scene, ordinary ones are not needed.
5.Please confirm the installation position of the above electrical appliances so that the installation workers can open the holes.
6.Now most of the windows of the balcony kitchen and bathroom are lower than the size of the ceiling. Please prepare a wood board (or kitchen cabinet board) so that the ceiling installer can seal these parts.